Best Way to Convert MXF to Adobe Premiere WMV for Further Editing

Adobe Premiere is the timeline-based video editing software application, which is part of the Adobe Creative Suite (graphic design, video editing and web development applications developed by Adobe Systems). Now it can highly supports high resolution video editing at up to 10,240 × 8,192 resolution, at up to 32-bits per channel color, in both RGB and YUV. Many people used it to edit video effects based its powerful editing functions.
While Adobe Premiere can not edit MXF files directly, you need to convert MXF to Adobe Premiere WMV for further editing. Tipard MXF to Adobe Premiere Converter has the ability to convert MXF file shot by Panasonic P2, Canon XF, and Sony XDCAM camcorder to Adobe Premiere compatible editing formats. Plus, you can preview the videos and snapshot images to save them as PNG, JPEG and BMP. The following guide will show you how to convert MXF to Adobe Premiere WMV for further editing.
Load the original MXF video
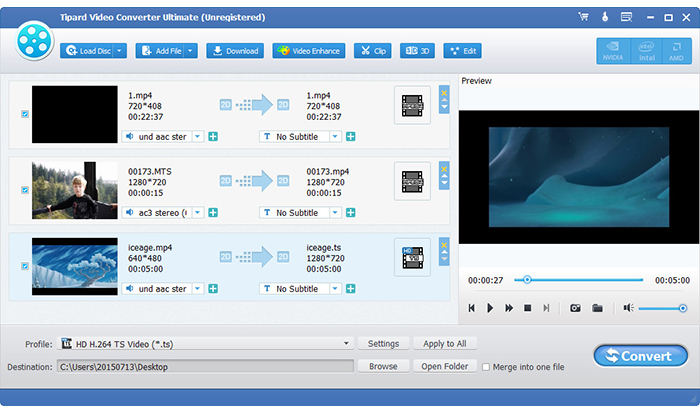
You can load your MXF file to the software by clicking the "Add Video" button on the toolbar. If you need to convert more than one video file, you can select "File > Add Folder" to load multiple files.
Select Adobe Premiere WMV format
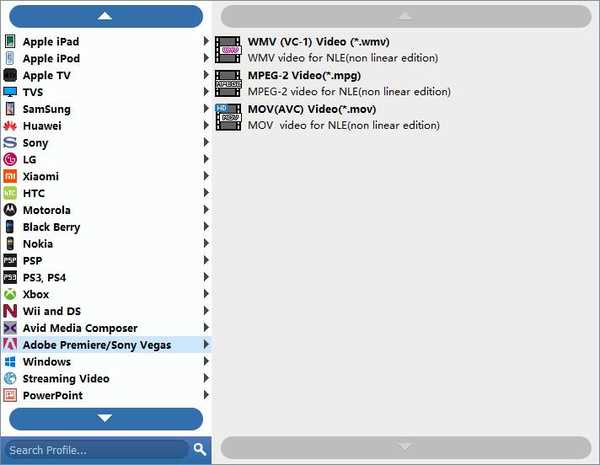
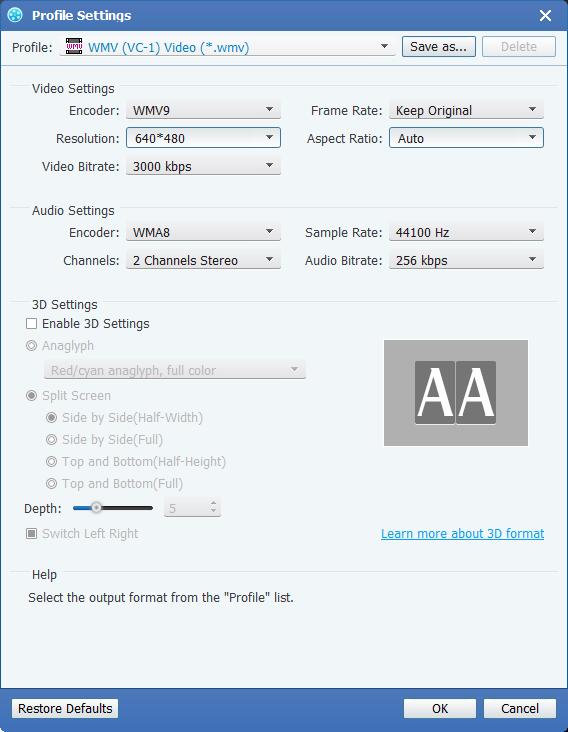
You need to select the output format by clicking the "Profile" drop-down list to select WMV format. Or you can directly input "WMV" in the text area below and the software will automatically find it for you.
Edit output videos
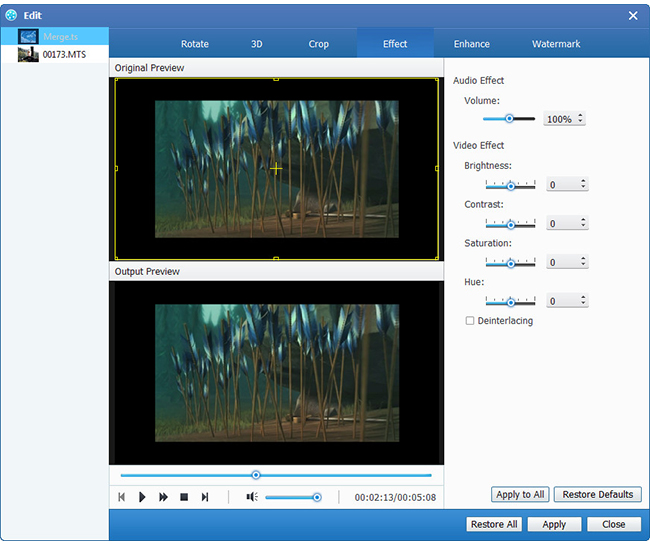
You can adjust the video effects, crop video frame to remove the black edges, add image/text watermark to the video and adjust output audio according to your needs.
Edit output preferences
You are allowed to set the output folder and snapshot folder. Plus you can choose to update this professional software every week, every month or every year.
Convert MXF to Adobe Premiere
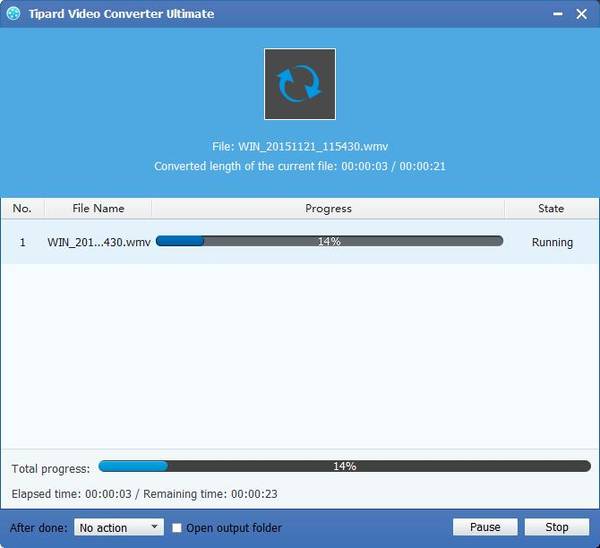
You can start the conversion by clicking the "Convert" button, after a few minutes, you can get your target files with original high quality.
